Learn how to safely restore corroded contacts in your vintage cameras using the latest 2026 maintenance practices. This hands-on guide helps you keep your beloved classic gear firing flawlessly for decades.
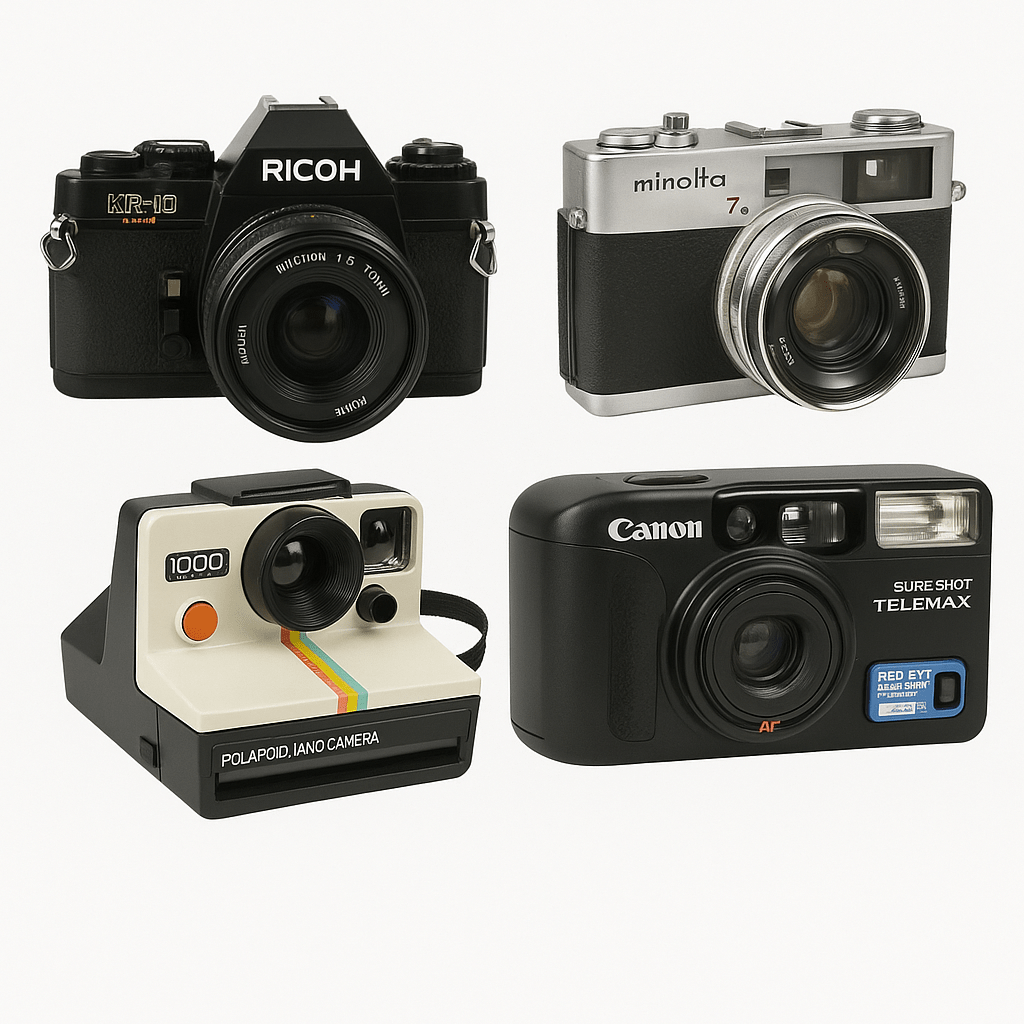
Understanding Corrosion in Vintage Camera Contacts
Here, you’ll learn why corrosion attacks classic cameras and how it affects everything from their shutter performance to power supply.
Corrosion occurs when moisture or leaked battery acid reacts with the metals used in your camera’s electrical connectors. Brass, copper, and aluminum are common, and each oxidizes differently: green buildup for copper alloys, or white powder for aluminum contacts.

You might first notice minor flickering in the light meter or an unreliable shutter release. That’s often a hint of corrosion buildup beneath the battery cover or film door.
- Inspect battery compartments for chalky residue.
- Check contact points under the lens mount and inside the film door.
- Look for green or white oxidation or fine rust-like specks.
Essential Tools and Safety Precautions for 2026 Restoration
This section outlines updated 2026 tools, safety steps, and protective measures to restore contacts safely and efficiently.
Advances in corrosion removers and cleaning brushes make precise restoration easier than ever. Opt for camera-safe materials only — avoid household metal polishes or rough abrasives that can alter conductivity.

- Nitrile gloves and protective eyewear to prevent skin or eye irritation.
- Soft-bristled cleaning brush or eraser pencil for gentle abrasion.
- Microfiber cloths, 99% isopropyl solution, and camera-specific corrosion remover.
Step-by-Step Process: Restoring Corroded Contacts
In this workflow, you’ll follow a safe, four-step method to clean, neutralize, dry, and polish metal contacts without damaging them.

- Disassemble accessible sections, removing only screws necessary to reach corroded metal.
- Gently dry scrub the area with a soft brush or eraser tip.
- Dab corrosion remover with a cotton swab, removing oxidation bit by bit.
- Neutralize leftover residue using a light isopropyl wipe, then air dry thoroughly.
- Finish with a careful polish to enhance conductivity without thinning the metal.
Reassemble once all components are fully dry. Avoid rushing — moisture trapped under contact pads can restart corrosion.
Pros
- Restores authentic function without replacement parts.
- Reduces e-waste and preserves original camera value.
Cons
- Requires patience and a steady hand.
- Incomplete drying may lead to new corrosion spots.
Comparing Costs: Restoration vs Replacement
Here you’ll weigh when careful restoration saves money and when replacement might make sense for your model.
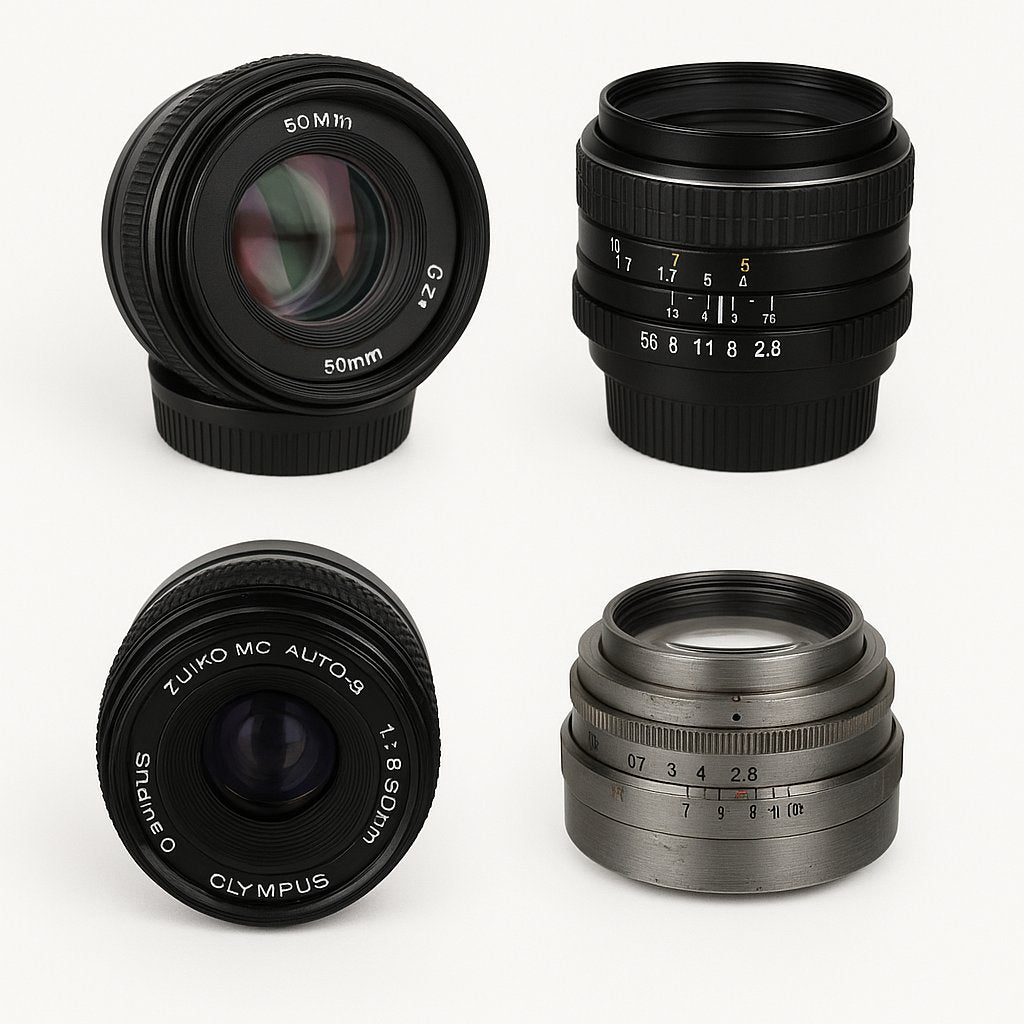
Rare vintage SLR film cameras often deserve restoration since original parts boost collectability. Meanwhile, modern hybrids or common compact models may justify replacing boards outright.
| Name | Best for | Spec/Material | Look/Result | Latitude/Usability | Notes |
|---|---|---|---|---|---|
| Purist 35mm Vintage SLR | Collectors and mechanical purists | Brass or copper contacts | Original feel retained | High, easy to maintain | Ideal for full restoration |
| Compact Rangefinder | Casual film shooters | Aluminum terminals | Clean aesthetic | Moderate | Partial cleaning often enough |
| Hybrid Digital + Vintage | Functional daily users | Mixed metal contacts | Modern reliability | High | Replacement may save time |
Pros
- Restoration extends life and saves cost of full replacement.
- Preserves visual and mechanical authenticity.
Cons
- Time investment can exceed simple swap for common models.
- Some parts are too far gone for recovery.
Post-Cleaning Maintenance Tips and Longevity
In this final section, you’ll learn how to prevent corrosion from returning — keeping every click of your retro masterpiece smooth and reliable.

Corrosion thrives in damp storage. Keep your equipment in a stable environment, ideally between 35–50% humidity. Use silica gel packs or climate-controlled shelves.
- Always remove batteries for long-term storage.
- Inspect contacts every 6–12 months for early rust or dust signs.
- Wipe with a lens-safe microfiber during each cleaning cycle.
Dispose of used swabs and paper tissues responsibly — many contain mild chemical residues that should not be tossed into general recycling.
Quick Decision Guide
- Collectors: Choose full restoration to retain original finishes.
- Active Photographers: Opt for chemical cleaning with modern 2026 kits for performance reliability.
- Beginner Restorers: Start with easily accessible battery contacts before handling internal ones.
- Budget Users: Compare cost of a contact repair kit versus professional service.
FAQs
What materials safely remove corrosion from vintage camera contacts?
Use non-abrasive corrosion removers, soft brushes, and cotton swabs moistened with isopropyl alcohol or a gentle vinegar mix for mild oxidation.
How often should you maintain vintage camera electrical contacts?
Check and clean every 6–12 months depending on how often you shoot and local humidity levels. High-moisture regions may require quarterly checks.
Is it cost-effective to restore corroded vintage cameras?
Yes — restoration keeps collectible cameras authentic and operational at a fraction of full replacement cost.
Which tools are best for contact restoration in 2026?
Precision cleaning brushes, updated corrosion remover formulas, and 2026-grade reconditioning kits designed for camera metals deliver the most reliable results.
Keep Your Classic Camera Alive
Explore our camera restoration accessories to keep your gear shining. With the right kit, even decades-old cameras can function like new again.

počet komentářů: 0